# Attitude Sensor Calibration
{% hint style="success" %}
**Prerequisite:**
1. **Access to the user interface:** To make this setting, you must have access to the user interface. If this is not the case, look here to see how to do it: [https://github.com/BonorumSoft/Hydrom-Handbook/blob/main/EN/getting-started/establish-first-connection-to-the-hydrom/access-to-the-user-interface.md](https://github.com/BonorumSoft/Hydrom-Handbook/blob/main/EN/getting-started/establish-first-connection-to-the-hydrom/access-to-the-user-interface.md "mention")
{% endhint %}
## Preparing the Hydrom
### Step 1: Place the Hydrom on a horizontal surface.
Place the Hydrom on the table in such a way that it is completely level. The battery ensures that the Hydrom is correctly aligned.
{% hint style="warning" %}
It is important that the ring on the Hydrom (photo to follow) does not rest on the table, as otherwise the Hydrom would have an additional angle of 2°, which could significantly distort the result.
{% endhint %}
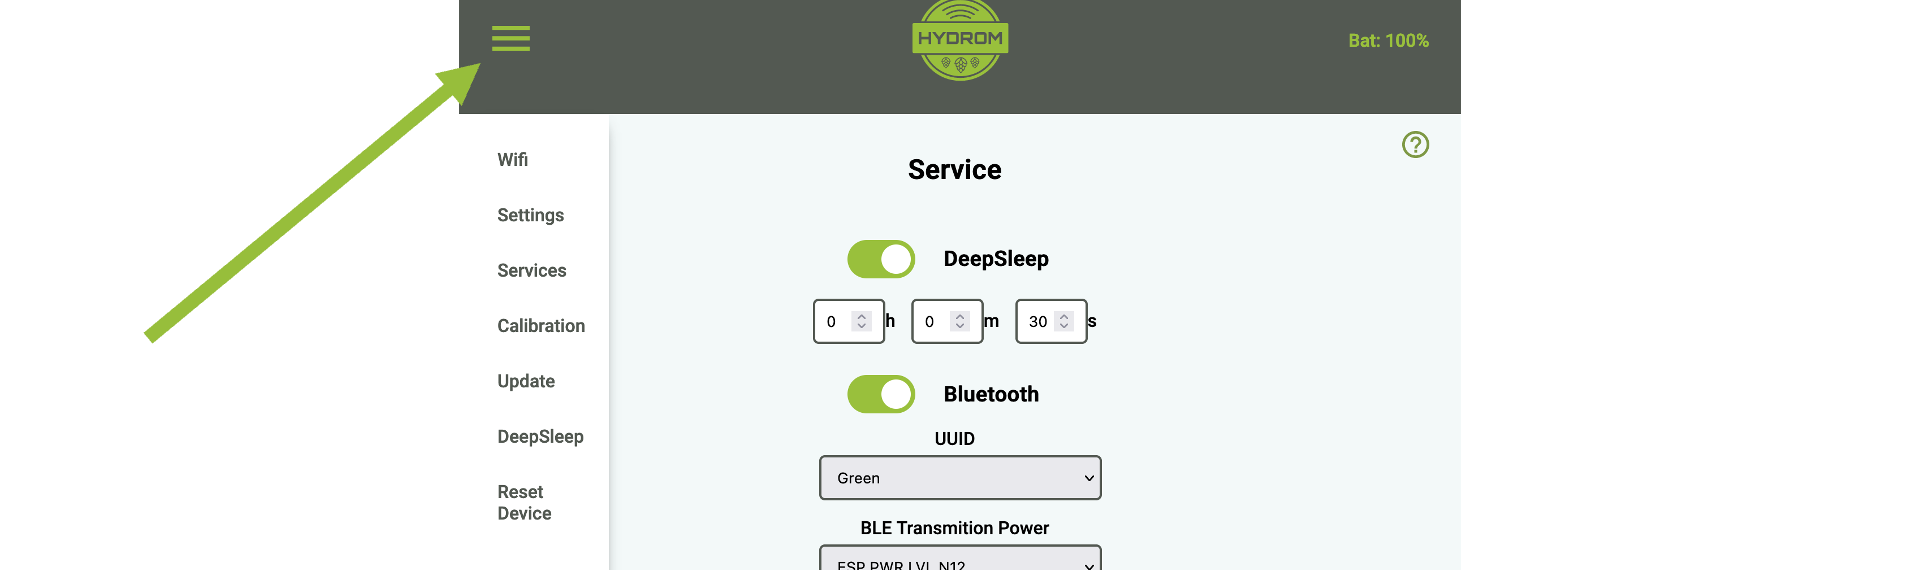
### Step 2: Open the menu bar
To call up the menu bar, click on the three lines in the top left corner (see arrow). The menu bar will then open.
Call up the menu bar by clicking on the three lines in the top left corner.
### Step 3: Start the calibration
If you are connected to the Hydrom via the configuration WLAN, you can call up the following link: [`http://192.168.2.1/mpucalibration`](http://192.168.2.1/mpucalibration)
If you have connected directly to the Hydrom via your WLAN, you will need the IP address of your device. The page to be called up is then as follows: http\://\/mpucalibration
The LEDs will now flash.
### Step 4: Wait
The Hydrom will now measure the current position frequently and then determine an offset for the attitude sensor based on changes in the measured values. Once the LEDs stop flashing, the attitude sensor is calibrated.