# Connect the Hydrom to iRelays Display
{% hint style="success" %}
**Prerequisite**
1. To make this setting, you must have access to the user interface. If you don't, see here how to do it:\
[Access to the user Interface](https://instruction.hydrom.io/readme/access-to-the-user-interface)
2. **iRelays available** To use iRelays, you need to buy one of this devices.
{% endhint %}
## Principle of the iRelay
The iRelay can be used locally or as a transmitter to the cloud. It acts as a repeater and reports the received measurement results to a cloud service. For information on how to create a cloud service in the relay, please refer to the instructions for the relay.
In this manual, you will learn how to configure the relay and the Hydrom so that the measurement values are sent to the relay and can then be displayed locally.
## Prepare the iRelay
If the iRelay is to be connected to the Internet or an existing network, the following steps must be done.
### Step 1: Supply the iRelay with voltage
The device has no battery, so you have to power it with a USB-C cable.
### Step 2: Connect to the WiFi of the iRelay
### Step 3: Connect the iRelay to the existing network
## Setting up the Hydrom
Now open the Hydrom's user interface.
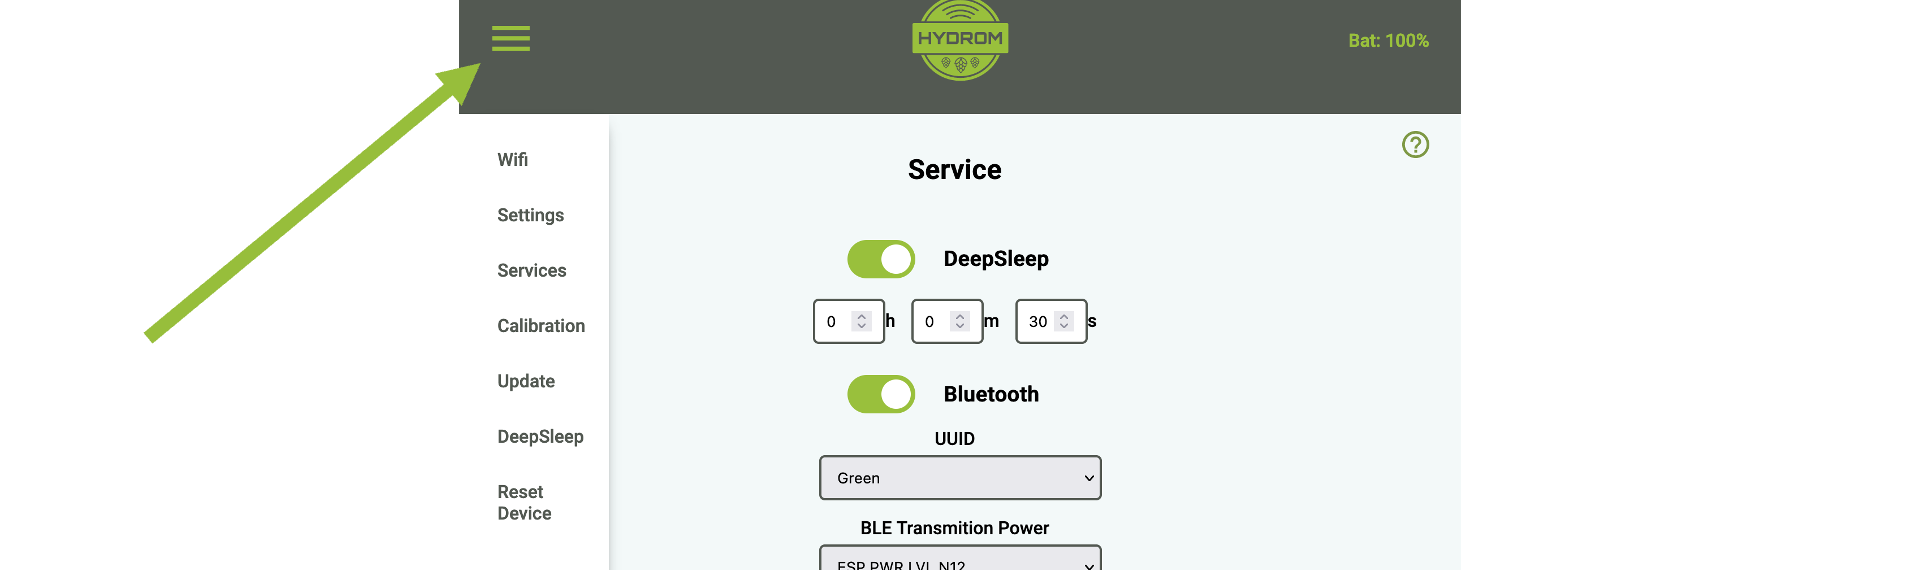
### Step 1: Open menu bar
To access the menu bar, you need to click on the three lines in the upper left corner. (See arrow)\
Then the menu bar will open.
### Step 2: Select "Service
On the "Services" page, you have the option to select and configure various interfaces and cloud services for use with its system. On this page, users can choose from three different interfaces - HTTP, MQTT, and TCP - and several cloud services, and then enable and parameterize these options to fit their needs. This page is a useful tool for those who want to connect their system to the cloud or other external services and customize the way data is transmitted and received. With the options available on the Services page, users can customize their system to meet their specific needs and ensure that it can communicate effectively with other devices and systems.
### Step 3: Enable "http" and change the settings.
On the "Service" page, the http-Server service must be activated.
Content:
* **Server**\
Set the server to "192.168.4.1".
* **Port**\
Set the port to "80".
* **URL**\
Set the server to "/gravity".
### Step 4: Change the name of the Hydrom
The iRelay needs a special name for the hydrom like this: "1-Hydrom\[SG]".\
You can find out how to change the name here:
{% content-ref url="../other-settings/changing-the-hydrom-name" %}
[changing-the-hydrom-name](https://instruction.hydrom.io/other-settings/changing-the-hydrom-name)
{% endcontent-ref %}
### Step 5: Connect the hydrom to the WiFi of the iRelay
In order for the hydrom to send the readings to the iRelay, the hydrom needs to be connected to the iRelay's WiFi.
* **SSID**\
Set the SSID to "nautilis-ispindel".
* **Password**\
Set the password to "1234567890".
You can find out how to change the Network Settings here:
{% content-ref url="untitled" %}
[untitled](https://instruction.hydrom.io/readme/untitled)
{% endcontent-ref %}
### additional settings
To avoid using too much power, we would turn off Bluetooth when it is not needed. This was documented here:
{% content-ref url="../add-bluetooth" %}
[add-bluetooth](https://instruction.hydrom.io/add-bluetooth)
{% endcontent-ref %}
In order for the hydrom to transmit data reliably, a DeepSleep time must be set. This is documented on this page:
{% content-ref url="../other-settings/enable-deepsleep" %}
[enable-deepsleep](https://instruction.hydrom.io/other-settings/enable-deepsleep)
{% endcontent-ref %}
### Save settings
Saving the data is important because it is the only way to connect to the service after waking up from DeepSleep.

You can check if the save was successful by looking at the settings file at . This file is the persistent storage of the hydrom.
A second way to check the saving is to reload the page (all browsers offer this). If then the properties are reloaded, the hydrom has accepted them, otherwise the old settings are reloaded.
### Activate DeepSleep
Enabling DeepSleep is mandatory for the hydrom to send data. If DeepSleep is activated, the hydrom wakes up after the specified time and sends the data to the set service. After that, the hydrom goes back to sleep and waits for the new service.
{% content-ref url="../other-settings/enable-deepsleep" %}
[enable-deepsleep](https://instruction.hydrom.io/other-settings/enable-deepsleep)
{% endcontent-ref %}
{% hint style="success" %}
In order for the device to send readings to the service at the set interval as intended, the Hydrom must be put into deep sleep.
There are two ways to put the Hydrom into deep sleep.
The easiest way to put the Hydrom into deep sleep is to ***turn the power switch*** off and on.
The other way is to put the device into deep sleep ***using the user interface***. To do this, open the navigation bar and go to the "DeepSleep" tab.
{% endhint %}